Hello, we are Team Flexcil!
As there has been another Covid-19 breakout recently, I believe teachers have a lot of concerns regarding the beginning of a new semester.
From the start of the first semester many teachers have been holding remote classes, but it seems that they are still struggling with their lectures since it is not easy to find a suitable tool for online classes. Simply showing your slides makes lectures monotonous and is difficult to keep students focused.
So, today I would like to give you some helpful tips on how to use iPad and Flexcil to make your online class more active and focused.
Let’s find out how!
Real-time online class via ZOOM on your iPad
The most used tool for online conferences and lectures is definitely #Zoom! I guess many of you are using it, too. Actually, ZOOM itself provides a built-in whiteboard function, but it is not good enough to use in lectures.
However, if you use Flexcil with ZOOM, it’s a completely different story. You can design a variety of online classes on your own!
Then let’s find out how to use Flexcil with ZOOM!
First, download ZOOM from the App Store.
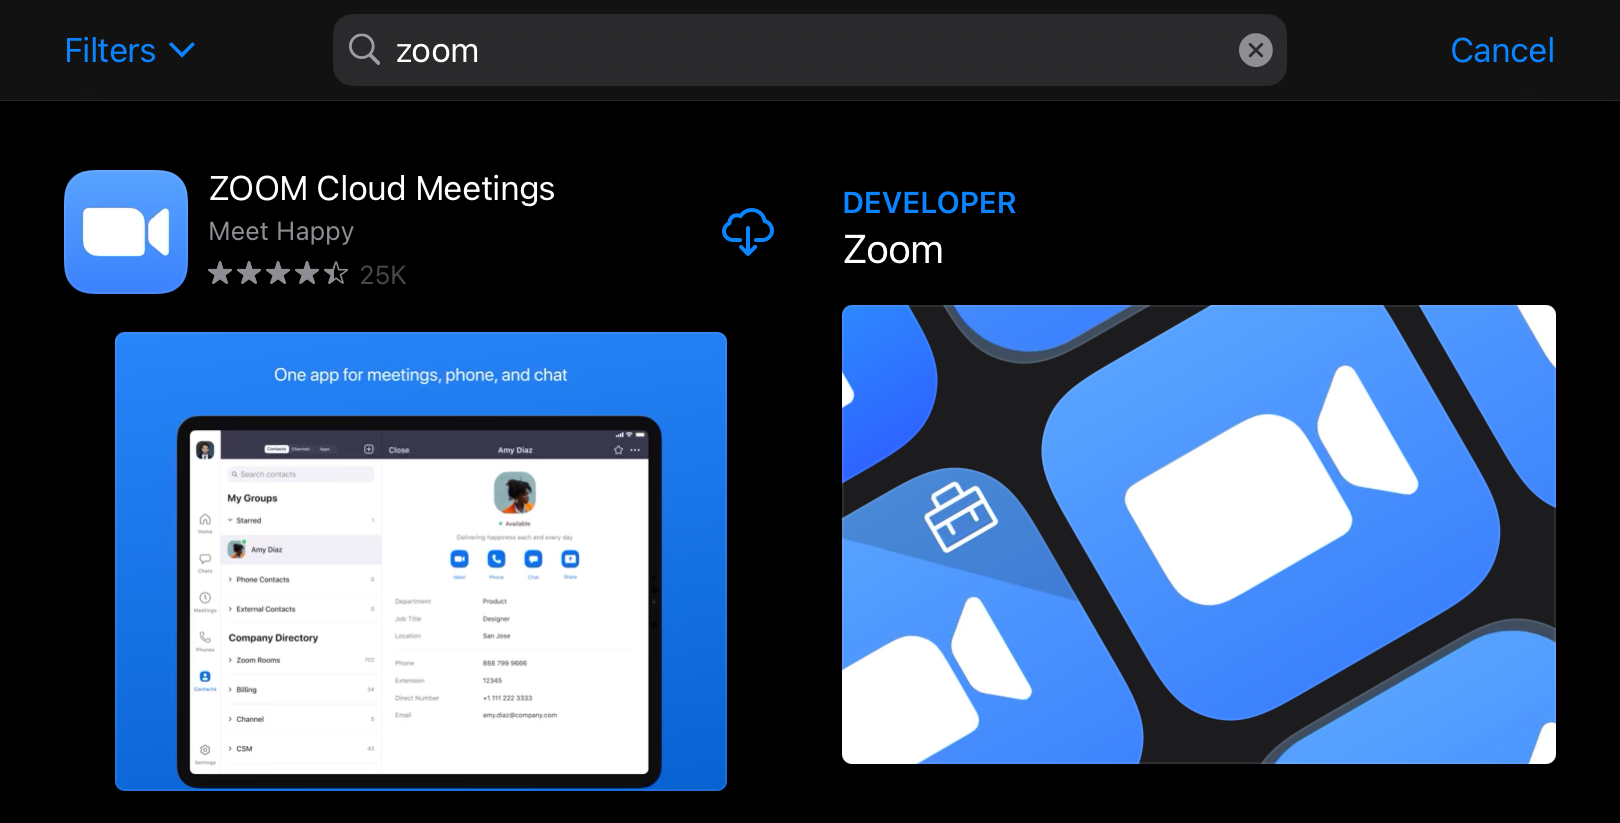
Download ‘ZOOM Cloud Meetings’ from the App Store
You can either sign up for ZOOM or sign in with your Google or Apple accounts to log in.
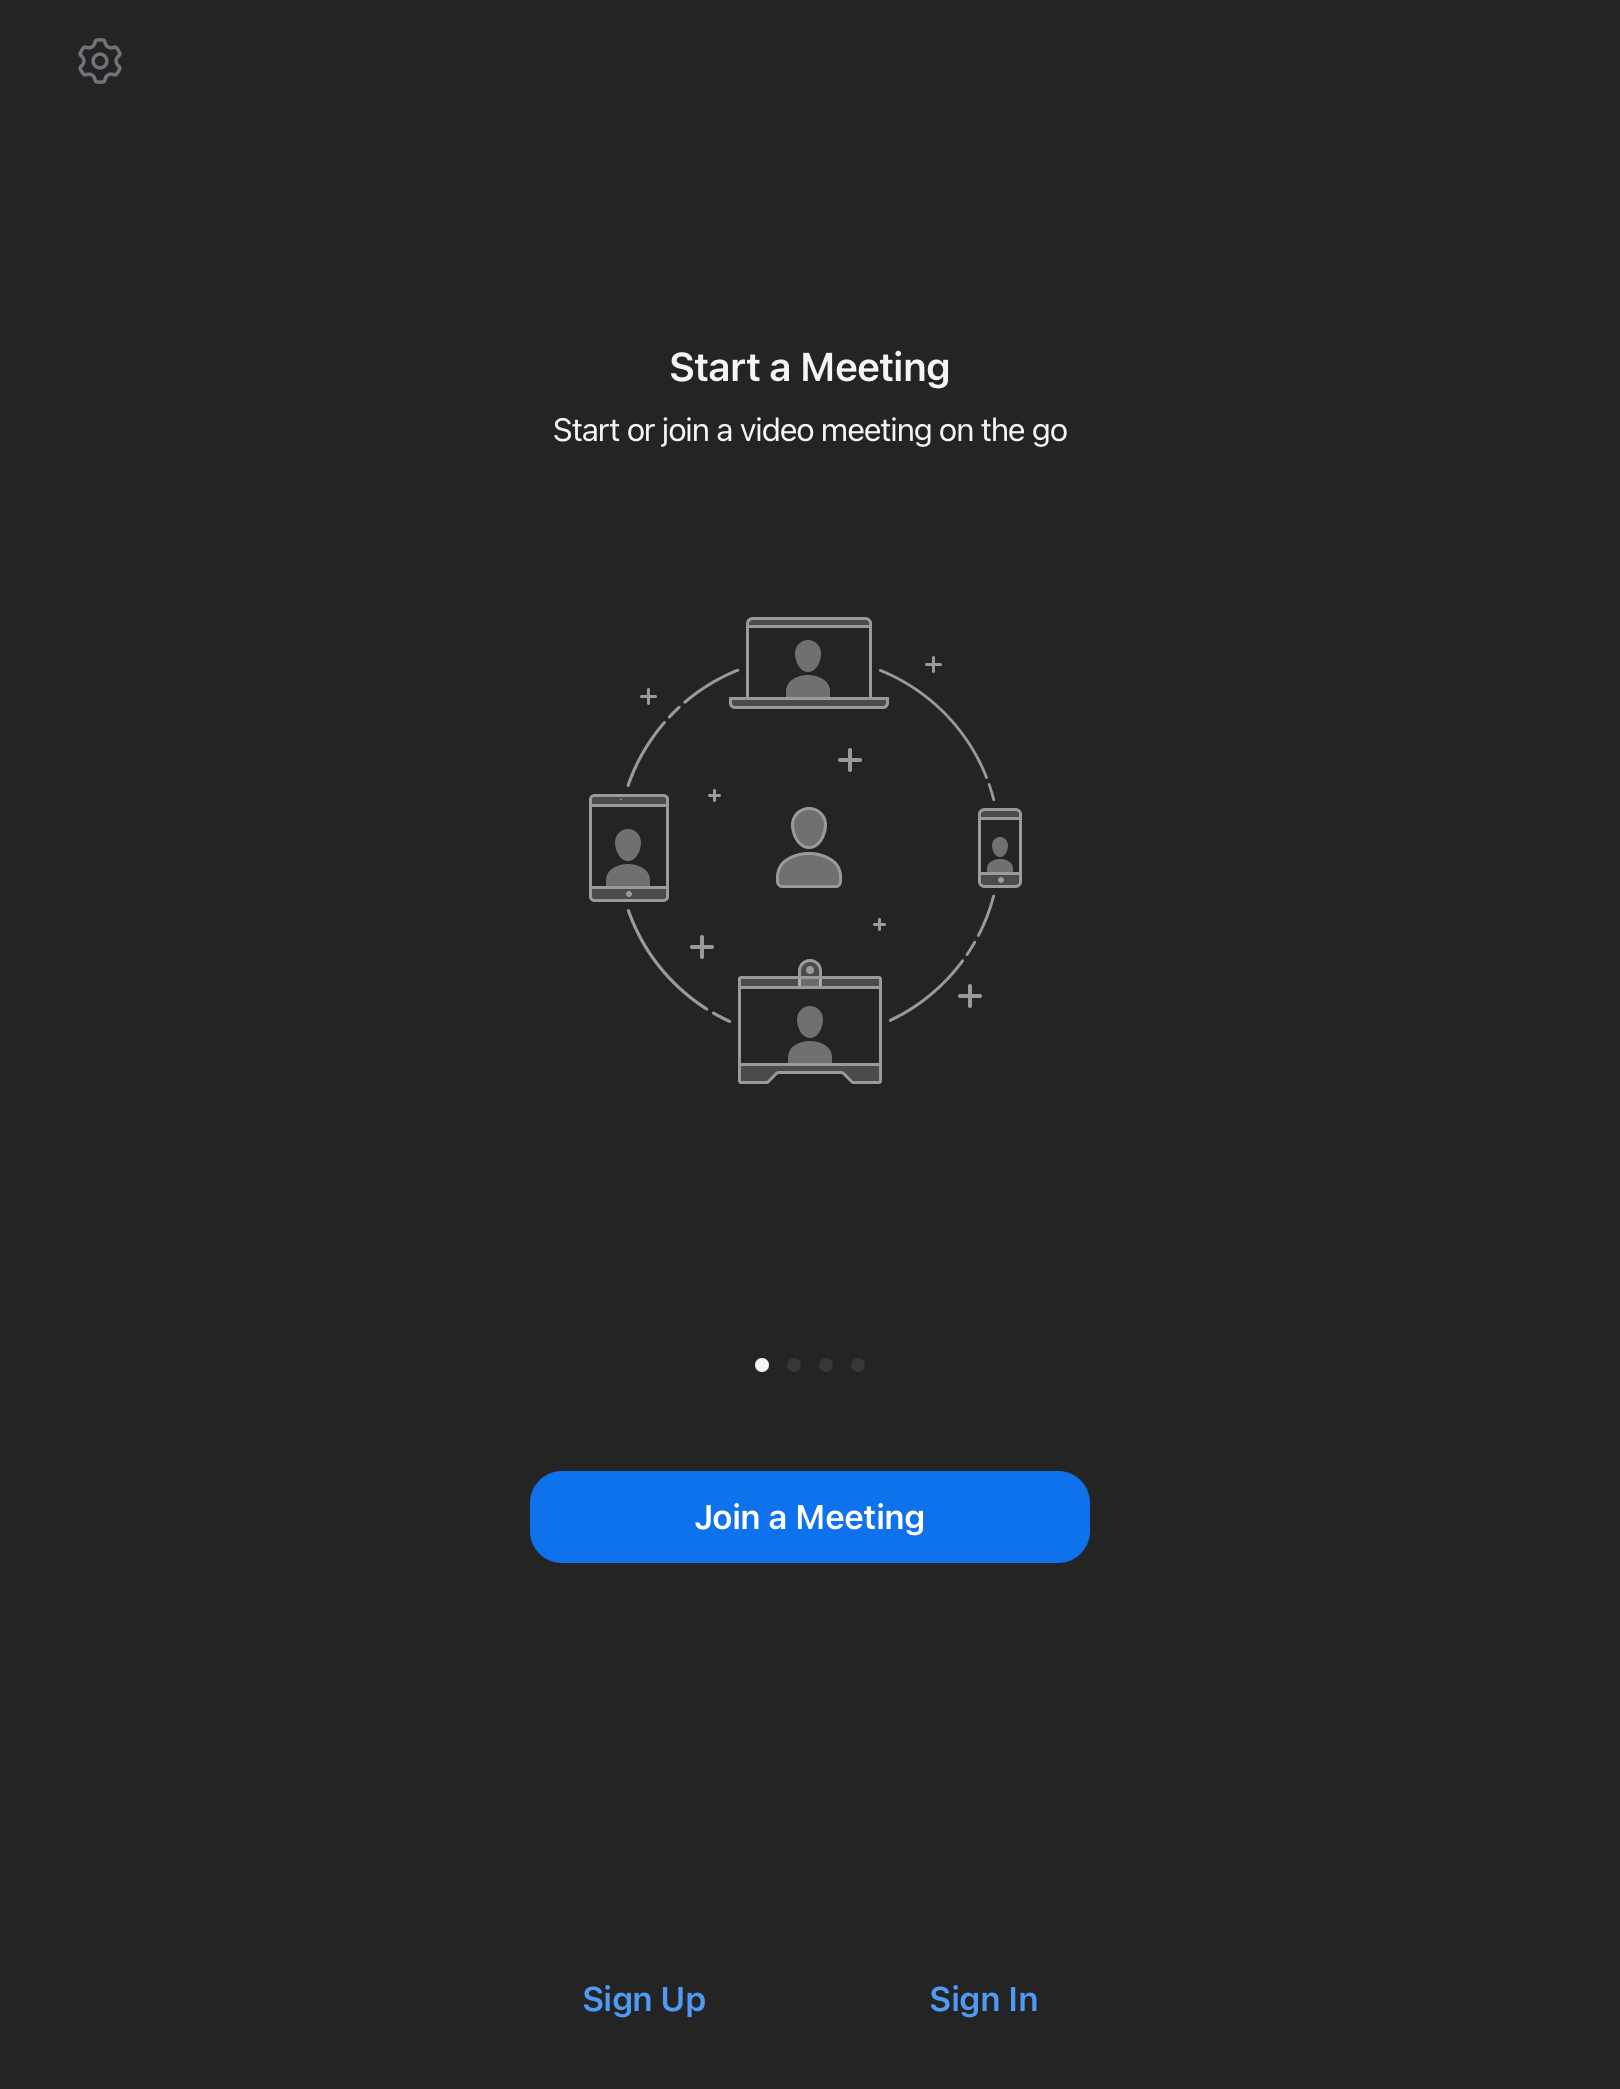
Create a new account by clicking ‘sign up’ or ‘log in’ buttons.
After logging in, select ‘New Meeting’ and click ‘Start’ to create a meeting room.
At this point, if you turn ‘Personal Meeting ID (PMI)’ on, you don’t have to send out or share the invitation link every single lecture, as people can join your meeting with the ID and password set in the first place.
Although changing meeting ID is only available in the paid version of ZOOM, the password can be changed in the free version as well.
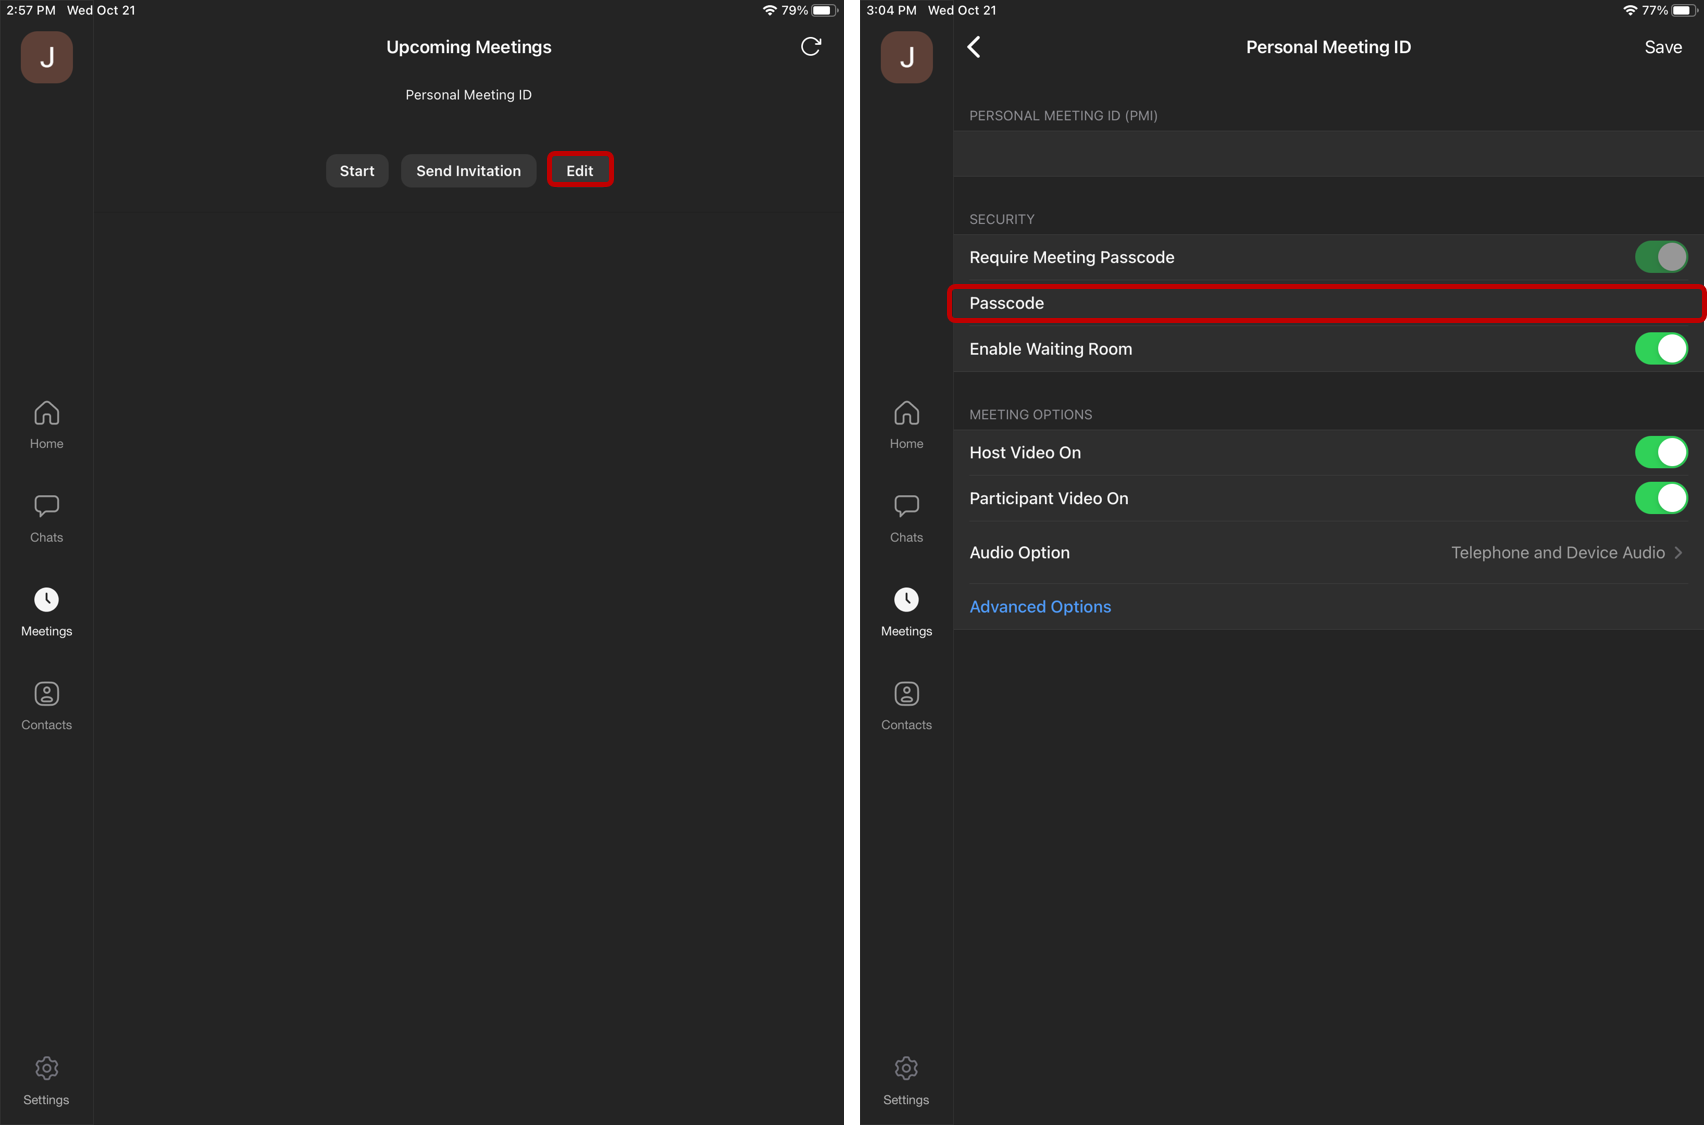
You can check your Meeting ID at ‘Meeting’ tab
on the left and change the password by clicking ‘Edit’
If you have arranged a new meeting, please allow camera and audio access to complete the settings.
Click ‘More’ on the top right corner, then you can find useful functions such as ‘allow screen sharing’ or ‘mute participants’. Use them as needed 🙂
Good! Now, the classroom setting is complete, we need to prepare the lecture materials, right?
To use Flexcil app with ZOOM, first enable ‘Content Sharing’. Select ‘Screen’ on top the list, then tap ‘Start Streaming’. In this way, the screen of you iPad will be shared with the participants.

Select ‘Screen’ option in the ‘Content Sharing’ menu, and you can start screen sharing your iPad
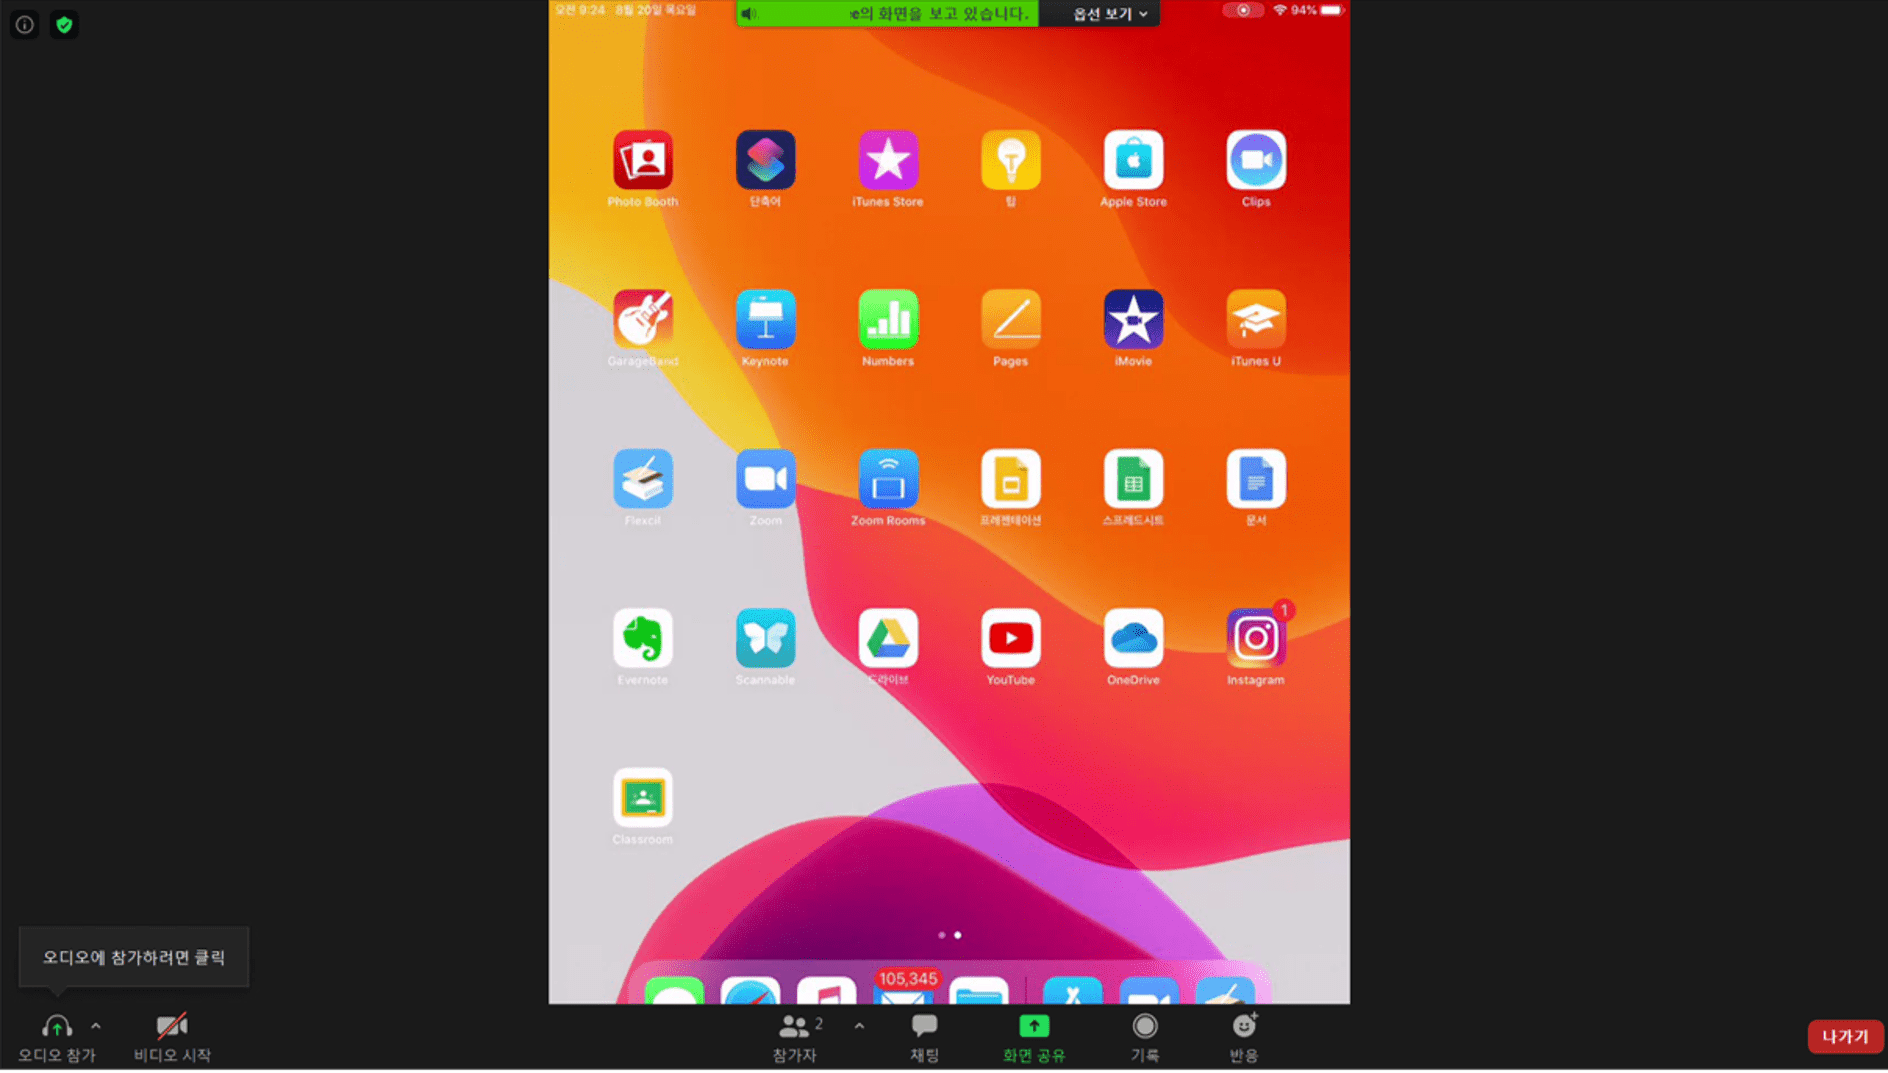
Those who are using ZOOM desktop client can also see the meeting host’s iPad screen
When screen sharing starts, go back to home screen and run Flexcil app. Then open your lecture materials in Flexcil and start your class.
Easy but effective, isn’t it? 🙂
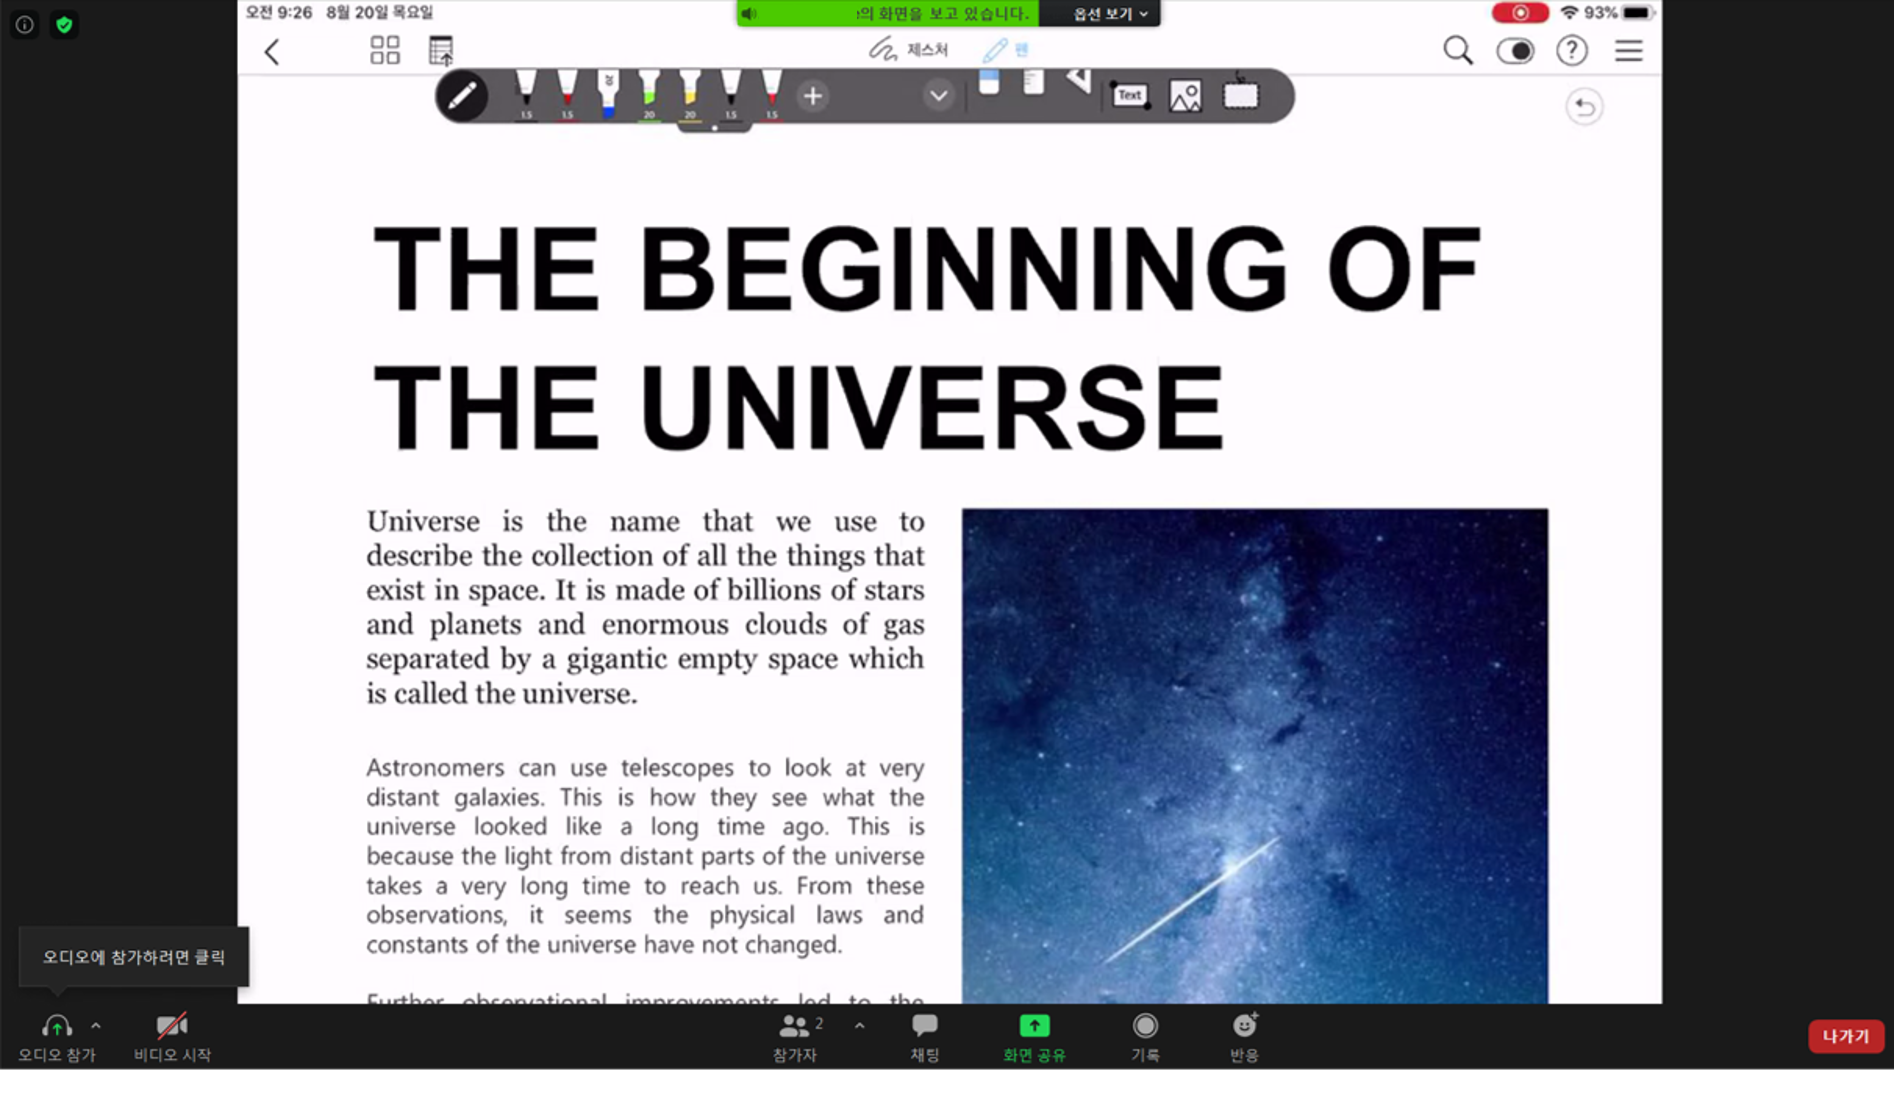
Participant’s point of view
Make lecture videos with iPad screen recording function.
Some teachers have real-time classes, while others make lecture videos. Previously, we went through how to combine ZOOM and Flexcil to make your real-time class successful and effective. This time, let me introduce how to make lecture videos with built-in screen recorder.
First, run Flexcil app.

After running the app, open the PDF materials for your class. And gently swipe down from the upper right corner of the iPad. You will find the screen recorder. Press record!
Some people may not find the record button. If there is no record button, go to the Settings-Control Center, click ‘Customize Control Items’, and add ‘Screen Record’.

If you gently swipe down the upper right corner, you can find the record button
After the 3-second countdown, you can start recording your lecture. When the class is over, press the record button again to finish recording.
If you use Flexcil app, you can effectively elaborate on the subject you are teaching by interacting with your class material. At the same time, you may also open up another note app simultaneously if you need. There is no limit on the ways of teaching, but only expansion of teaching tools.

No need to worry about your class, because Flexcil got your back!
Recorded lecture videos are saved in the photo app. You can easily share or distribute the lecture videos with your students by uploading the videos to Google Classroom etc.
